This Chain Breaker and Riveting Tool Kit ( 35-0111 ) may be used for breaking all sizes chains from #350 to #630, but it is NOT recommended for cutting heavy-duty chains unless the rivet head is ground off first.
Each tool is packed with the following parts:
- 2.2 mm Breaking Tip
- 2.9 mm Breaking Tip
- 3.8 mm Breaking Tip
- Tool Body
- Alignment Bolt
- Push Bolt
- Handle
- Push Bolt Lever
- Spring
- Anvil (Large)
- Anvil (Small)
- Upper Tip Guide for 2.2 mm Tip
- Lower Tip Guide for 2.2 mm Tip
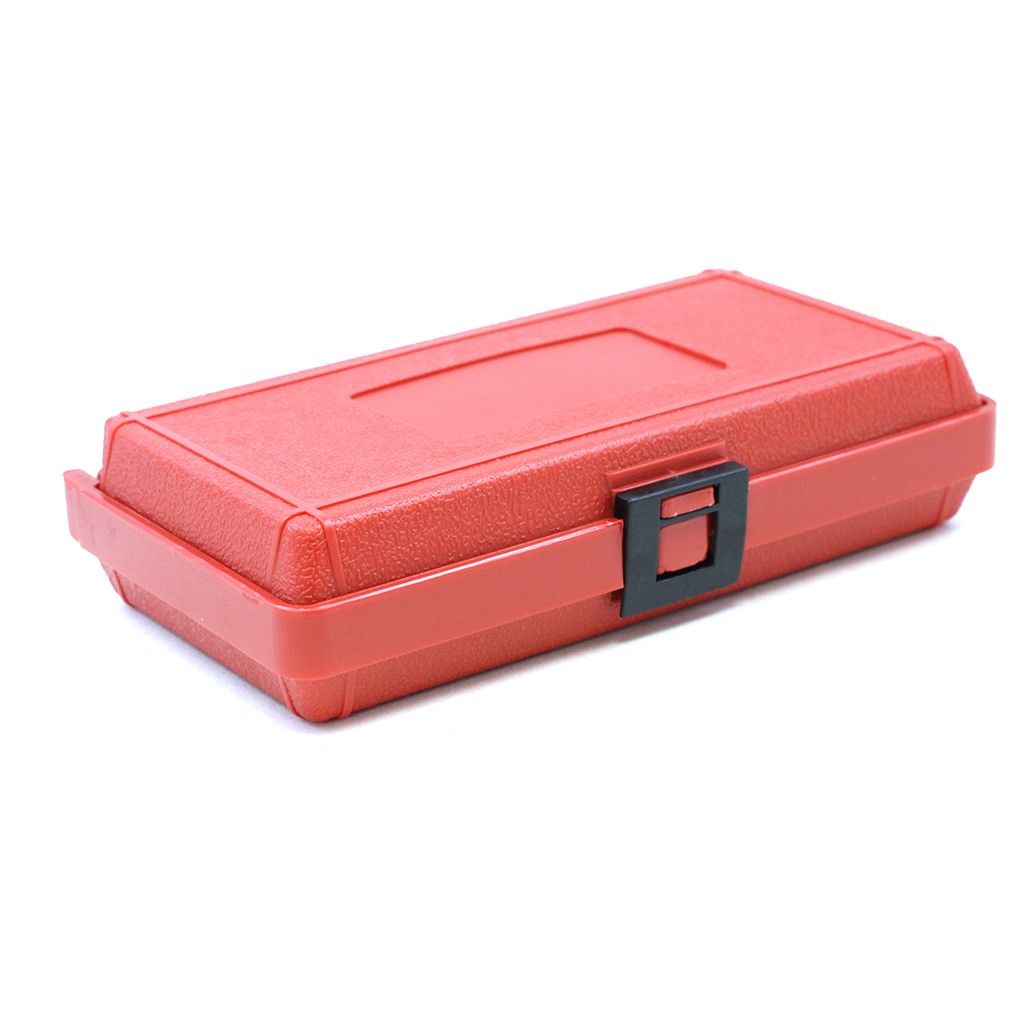
- Carrying Box


Instruction for Breaking Chain (Pressing Out Link Pin)
Note : If working on the cam chain, be sure and cover the chain tunnel with rag to prevent parts dropping down.
1. Assemble tool as shown in the diagram (Anvil not used).
2. Select correct size tip for chain to be worked on and insert into tool alignment bolt. If the small 2.2 mm tip is used, you must also use the upper and lower guides to prevent breaking the tip. The upper guide threads on to the alignment bolt. The lower guide drops in place in the bottom of the tool body. The smallest pin ( 2.2 mm ) should be used on most cam chains. The medium pin ( 2.9 mm ) pin to be used on #25 or #35 chains and the large pin ( 3.8 mm ) for most motorcycle drive chain ( #428 to #530 ).
3. Put the tool over the chain. The tool tip must be withdrawn at least 2 mm into alignment bolt. The end of the chain rivet should be held into position in tool alignment bolt, while the other end of the rivet is in the hole in the tool body. Tighten the alignment bolt securely against chain.
4. Tighten the push bolt with 14 mm wrench or lever until the chain pin is pushed completely out. The chain pin will drop out of the hole in the bottom of the tool. Withdraw the push bolt and pin, loosen the alignment bolt and remove the tool. You may want to push both pins out.
Note : When tightening, push bolt against the chain link pin. If you don’t feel the tip going down smoothly, check that tip is correctly lined up against the link pin. If not, redo step 3 or you may break the pin.
Installing Chain Link Pin (Riveting)
1. Ensure that the rivet tip and anvil are in place in the tool.
2. Assemble the chain with a link to be riveted. Special rivet link pins must be used because re-using original pushed out pin is not recommended. Do not attempt to use clip type connecting link. The pin must be all the way through the chain link; it can be tightened by placing the chain into the tool with the tip withdrawn and tightening the alignment bolt.
3. Position the tool pin to be riveted, making sure the tool tip is withdrawn and the alignment tool is securely against the chain. Tighten the push bolt very tight so that the rivet tip spreads chain pin. The end of the chain should be flared so that the pin is solidly held in place. Repeat procedure on other link pins.
4. Withdraw the tool, remove the chain, and visually check that both link pins show the same spread end marks and are in alignment with side plates on either side.
You have now assembled and utilized your Cam Chain Breaker and Riveting Tool.
For tech support, contact us at customerservice@mikesxs.net